




Image SEO for Blogs: Alt Text, File Names and Faster Pages
Introduction
Photos, screenshots and diagrams do half the work of a blog post. They explain, break up long walls of text, and make the first impression when someone shares it.
Yet most bloggers treat images as an afterthought — uploading a photo straight from a phone, still called IMG_4832.jpg, at full size, with no alt text. The page gets slower, Google has no idea what the picture shows, and a screen reader user hears only “image”.
Image SEO is the fix, and one of the easiest wins in blogging: a clear file name, helpful alt text, the right format and size, and compression that keeps the page fast. No developer or paid tool needed.
What Is Image SEO?
Image SEO is the practice of optimising the images on your blog so search engines can find them, understand them and rank them — in ordinary search results and in Google Images — while keeping your pages fast for real readers.
Google cannot see your pictures the way you can. It works out what an image shows from the clues around it: the file name, the alt text, the words nearby, and the size and format of the file. Give it good clues and your images can rank; give it nothing and they are invisible.
Why Image SEO Matters
Images are usually the heaviest thing on your page. On a typical post they make up more than half of the total page weight, and one uncompressed phone photo can be 4 or 5 MB. Shrink the images and the whole page gets dramatically faster.
Speed is a ranking factor. Google’s Core Web Vitals measure how quickly the main content appears, and the largest image on the page very often decides that score — which is why our blog SEO audit checklist starts with page speed.
Google Images is a real traffic source. For visual topics — recipes, travel, crafts, tutorials — image search can become a meaningful share of your traffic. But Google only shows images it understands, through your file names and alt text.
Accessibility is not optional. Screen reader users rely on alt text to know what your images show. Good alt text helps real people and search engines at the same time.
1. Name Your Files Before You Upload Them
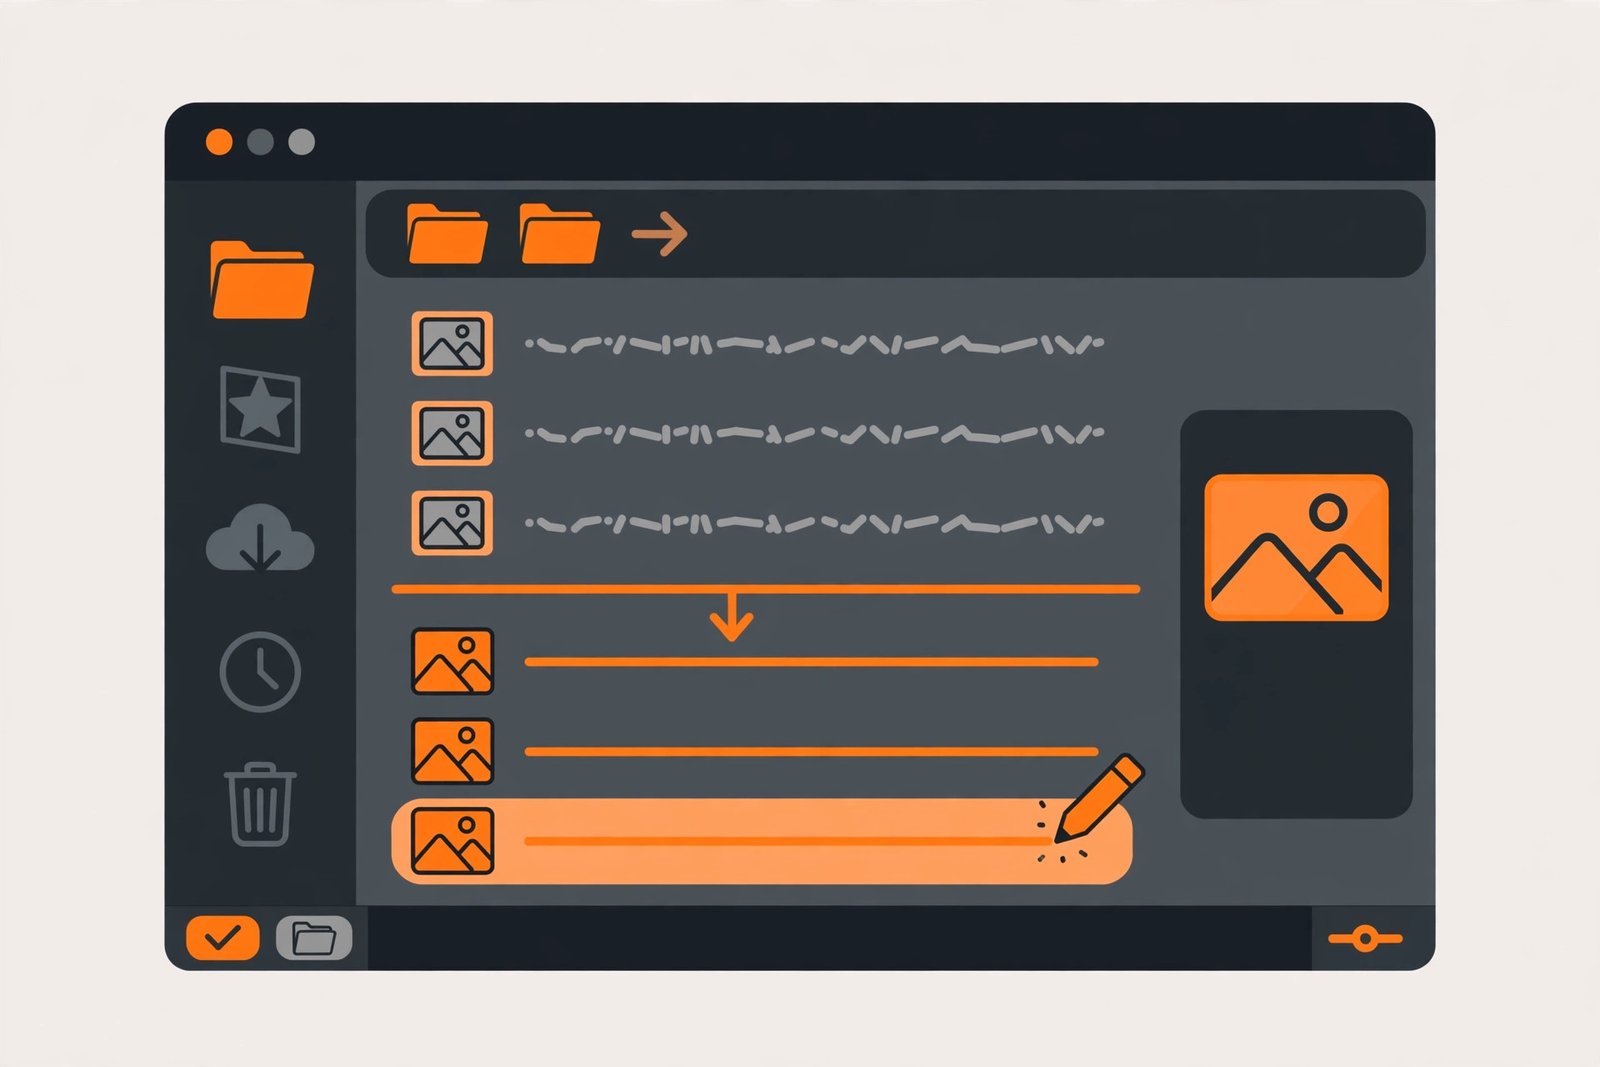
The first thing Google reads about your image is its file name, so start on your own computer, before the file ever touches WordPress. A camera gives every photo a meaningless name — rename it to describe what the picture shows, in lowercase words joined with hyphens.
| Bad file name | Good file name |
|---|---|
| IMG_4832.jpg | homemade-sourdough-loaf-sliced.jpg |
| Screenshot 2026-11-17.png | wordpress-dashboard-plugins-page.png |
| photo-final-v3.jpg | beginner-yoga-poses-living-room.jpg |
Use lowercase throughout, hyphens not underscores or spaces — Google treats hyphens as word separators, while underscores join words into one long string.
Rename before uploading. WordPress keeps the file name you give it, and renaming afterwards means re-uploading and updating every place the image appears.
2. Write Alt Text That Actually Helps
Alt text is the short description stored in an image’s alt attribute. Screen readers read it aloud, browsers show it if the image fails to load, and Google uses it to understand what the picture depicts.
That makes alt text the most important image SEO signal you control — and the most commonly mishandled. Most bloggers either leave it blank or stuff it with keywords.
Good alt text describes what is visible, in plain language, in about 80 to 125 characters — imagine describing the image to someone on the phone. Include your keyword once, naturally, if it fits.
| Weak alt text | Good alt text |
|---|---|
| image SEO | Blogger renaming an image file to a descriptive name before uploading it to WordPress |
| photo | A sliced homemade sourdough loaf on a wooden board beside a bread knife |
| keyword research | A spreadsheet showing monthly search volumes for beginner keyword ideas |
Do not start with “image of” or “photo of” — Google and screen readers already know it is an image. Do not repeat the caption word for word. For purely decorative images, like a divider, leave the alt attribute empty (alt="") so screen readers skip it. Give screenshots the same care: “WordPress media library showing the alt text field filled in for a featured image” is useful; “screenshot 1” is not.

3. Choose the Right Image Format
Format is the single biggest lever on file size, and the choice is simpler than it looks.
WebP is your default in 2026 — roughly 25–35% smaller than JPEG at the same quality, supported by every modern browser. JPEG is the old workhorse for photographs, fine when your tools cannot produce WebP. PNG is for logos, diagrams and screenshots with small text, where you need perfect sharpness or transparency; far too heavy for photos. SVG is for logos and icons: vector-based and sharp at any size. AVIF compresses better still, but support is catching up — not worth switching your library for today.
The rule: photos and illustrations as WebP, screenshots and diagrams as PNG or lossless WebP, logos and icons as SVG. If your editor cannot save WebP, our free image converter turns JPEG and PNG files into WebP in the browser, with no upload needed.
4. Resize Images to the Size They Are Actually Shown
This is the mistake that costs bloggers the most speed, and it is invisible to the person making it.
A photo from a modern phone is often 4000 pixels wide; your blog shows it at perhaps 800. Uploading the original means every visitor downloads five times more image than they ever see.
Before uploading, resize each image to the largest size at which it will actually appear:
- Featured images: 1200 pixels wide (600 tall for the standard 2:1 blog ratio).
- In-body images: 800–1000 pixels wide is enough for nearly every theme.
- Thumbnails and small illustrations: 300–400 pixels wide.
Resizing takes seconds in any free editor — Squoosh, Photopea, or your operating system’s built-in preview tool.
5. Compress Every Image Before It Goes Live
Compression turns a resized image into a fast one: a 1.2 MB photo routinely becomes 120 KB with no visible difference. As a rule of thumb, no image should be larger than 200 KB, and most should sit under 100 KB.
There are two kinds. Lossy compression (JPEG quality 70–85, or WebP quality 75–85) gives the biggest savings and suits nearly all blog photos. Lossless keeps every pixel perfect but saves far less — reserve it for diagrams and screenshots.
Compress on your own computer before uploading. Our free image compressor handles this in the browser — the same tool we recommend in our WordPress technical SEO checklist, because on most blogs oversized images are the single biggest speed problem.

6. Let WordPress Handle Lazy Loading and Responsive Sizes
Two pieces of image SEO are handled by WordPress itself.
Lazy loading means images below the fold are only downloaded when a reader is about to scroll to them. WordPress adds this automatically — just never lazy-load your featured image, because that is the image Google measures for loading speed.
Responsive images means WordPress serves different sizes of the same image to different screens, created automatically when you upload.
Check it by opening your own post on a phone: images should appear promptly as you scroll. If the page feels heavy on mobile, the images are the first suspect — our website speed checker guide shows how to confirm.
7. Placement, Context and Google Images
Google reads the words around an image to understand it, so put each image close to the text it illustrates. A screenshot of a settings page belongs in the paragraph that explains those settings, not three sections later.
Captions earn their place when they add something the image alone does not say — a source, a result, a detail worth noticing. Do not use one to repeat the alt text. If an image does not illustrate, explain, or break up anything, leave it out.
Ranking in Google Images is the reward for doing everything in this guide. Keep the page relevant to the image — a sourdough photo ranks best on a page about baking bread. Check whether image search already sends you traffic in Google Search Console: filter Performance by search type “Image”. If it brings nothing, the images on your top posts probably have no useful alt text or file names — fix the five most-read posts first.
Your 10-Minute Image SEO Workflow
Here is the whole routine, in order, for every image you publish:
- Rename the file — lowercase, hyphens, descriptive, keyword where it fits naturally.
- Resize it — 1200 pixels wide for a featured image, 800–1000 for in-body images.
- Convert to WebP — unless it is a logo (SVG) or a diagram that needs PNG.
- Compress it — aim for under 200 KB, ideally under 100 KB.
- Upload it, then write the alt text — 80–125 characters, describing what is visible.
- Place it next to the text it illustrates — and add a caption only if it adds something.
The first time it takes fifteen minutes; by the third post it is a habit.
3 Mistakes Bloggers Make With Images
Uploading phone photos at full size. A 4000-pixel, 5 MB photo on an 800-pixel-wide blog is the most common speed problem on small blogs — and the easiest to fix.
Writing alt text for Google instead of for people. Keyword-stuffed alt text reads badly to screen reader users and helps nobody. Describe the picture; let the keyword appear once, naturally, or not at all.
Forgetting the images on old posts. Your older posts hold the worst image habits: camera file names, no alt text, uncompressed uploads. Work through your five most-read posts first — our guide to updating old blog posts shows how to fold image fixes into a refresh.
Frequently Asked Questions
What is image SEO?
Image SEO is the practice of optimising the images on your website so search engines can find, understand and rank them. For bloggers it means descriptive file names, helpful alt text, modern formats like WebP, sensible sizes, and compression — which also makes pages load faster.
How long should alt text be?
Aim for 80 to 125 characters — roughly one clear sentence, since screen readers often stop reading after that. Describe what is visible, include your keyword once if it fits naturally, and never start with “image of” or “photo of”.
Does image SEO actually help a blog rank?
Yes, in three ways. Optimised images make pages faster, and speed is a ranking factor. Descriptive file names and alt text help Google understand your content. And your images can rank in Google Images themselves, bringing in traffic your text alone would never attract.
Should I use WebP or JPEG for blog images?
Use WebP for nearly everything: 25–35% smaller than JPEG at the same quality, supported by every modern browser. Keep JPEG only when a tool cannot produce WebP, PNG for diagrams and screenshots that need crisp edges, and SVG for logos and icons.
Final Word
Image SEO is not a technical specialism. It is a publishing habit: rename the file, resize it, compress it, describe it properly, and put it where it helps the reader. Each step takes seconds, and together they make your blog faster, more accessible, and visible in a corner of search most bloggers ignore.




15 SEO Mistakes Bloggers Make (and How to Fix Them)
November 17, 2026[…] Image SEO for Blogs: Alt Text, […]